Friday 22 January 2016

Chicken Pie

It has well and truly felt like winter the last couple of weeks (finally!) meaning I’ve been turning to more homely, hearty dishes -such as this classic chicken dish- to warm me up. The beauty of this is in its simplicity and that it can be adapted to make into a pie, or just to eat with rice or mash. Either 
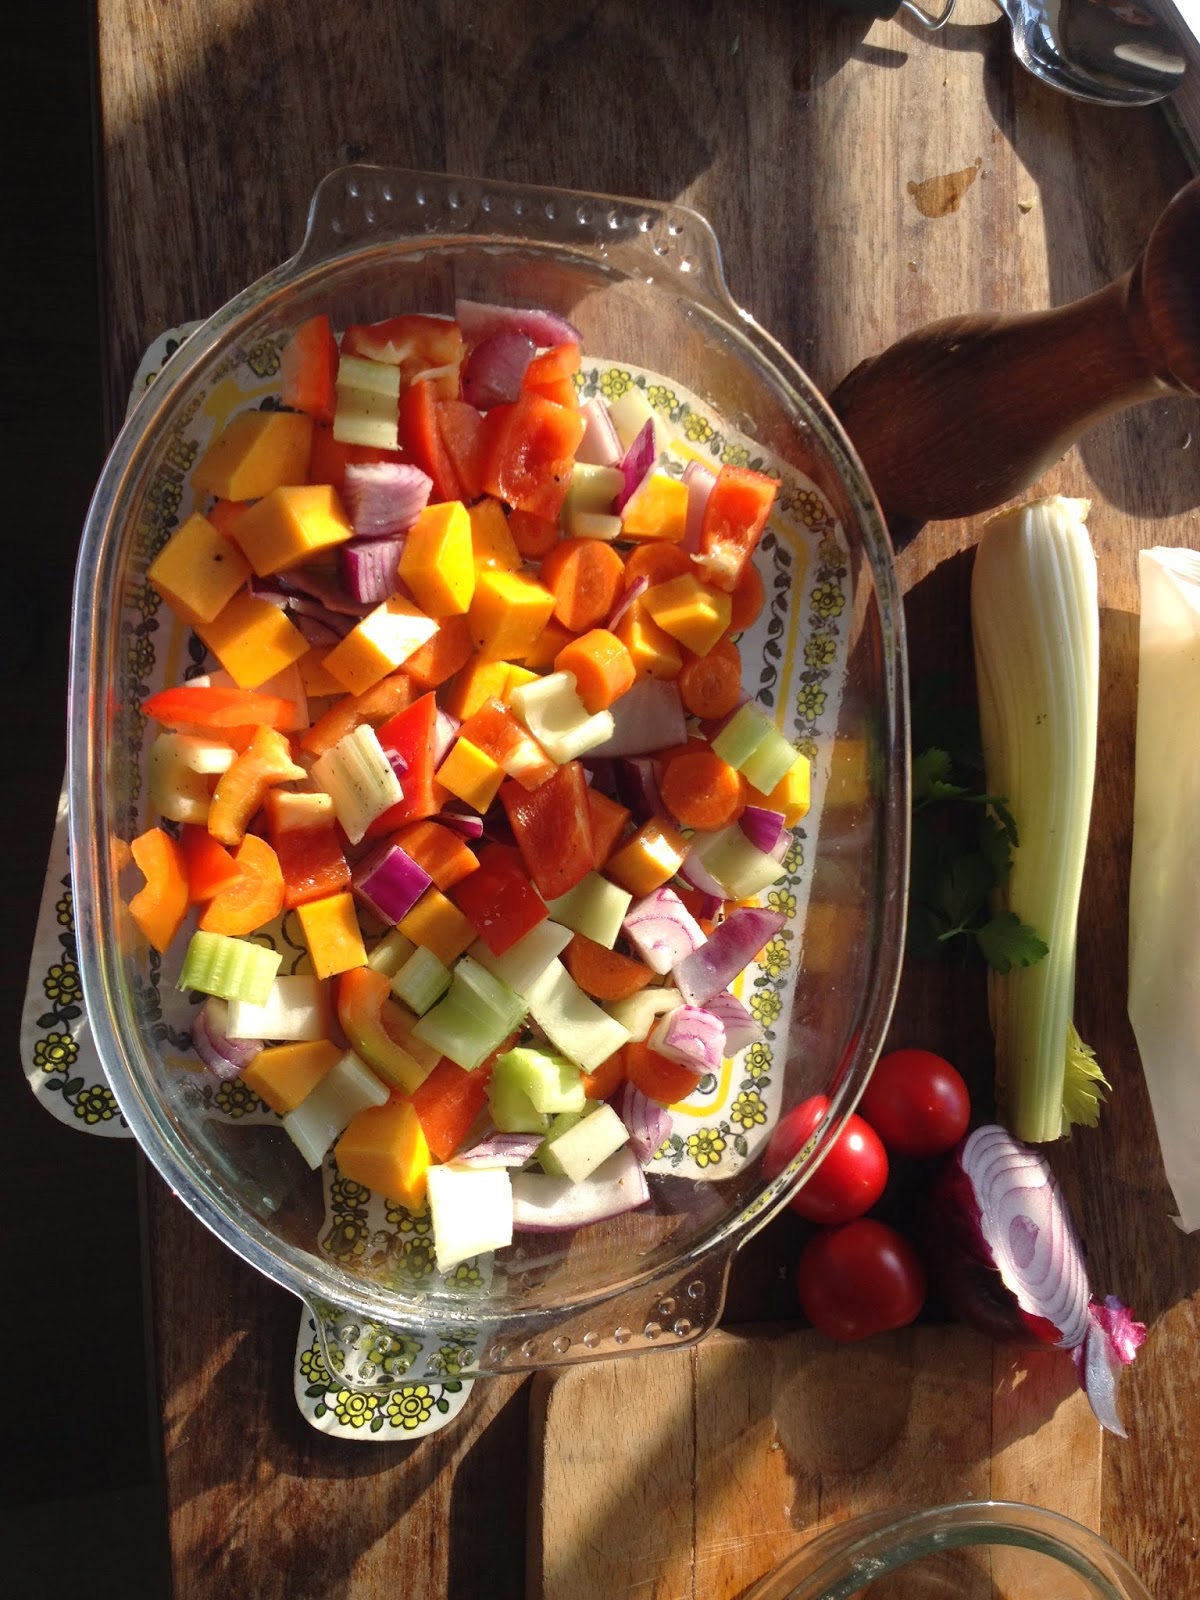
way – add some seasonal veg, keep the carbs wholegrain, and you have yourself a healthy meal (fairly healthy if you make it into pie…). This is a great one to make for your housemates – this was very popular with mine – or scale it down to use 2 chicken breasts and eat it over two days – making sure you heat the chicken up carefully so it’s piping hot all the way through.

Ingredients – serves 4:

3-4 chicken breasts
Juice of half a lemon

30g butter
Approx. 200g of mushrooms (2/3rds of an average supermarket pack) - sliced
1 leek – finely sliced
30g flour
300ml chicken stock (use a whole chicken stock cube dissolved in 600ml of boiling water)
*Optional bacon if you have it
Parsley if you have it
If you’re making it into a pie – half a block of ready-made puff pastry.

Put the chicken breasts in a dish, drizzle with olive oil, squeeze the juice of half a lemon over them and season with salt and pepper. Cook them in the oven at 190 degrees, gas mark 5 for 35-40 minutes – or until the juices run clear**.

With 10-15 minutes left to go on the timer, put the kettle on and make your stock. Meanwhile, melt the butter in a saucepan on a medium-low heat and fry the leek until it’s starting to go soft (*add bacon cut into pieces at this point too if you’re using it). Add the mushrooms and continue to fry until they’re soft too. Don’t worry if there’s excess butter – this is what makes the sauce.

Once the leek and mushrooms are soft, add the flour and stir until it’s soaked up the butter. Then start adding the stock – stirring continuously. It may go lumpy at first but persevere and it should come together and start to thicken. Keep adding the stock until it’s the right consistency. At this point if you’re feeling clever – get the chicken out and tip the juices from the dish into the sauce, then put the chicken back in the oven to carry on cooking.

Taste your sauce and season it. At this point I add parsley if I have it, salt, pepper, maybe some mixed herbs, a little more lemon juice if it needs it – whatever floats your boat! Once the chicken is done, cut it up into chunks and mix it in with the sauce.

You can serve it with wholegrain rice and vegetables and you’re away! 
OR
Make it into pie…
Transfer the chicken and sauce into a fairly deep dish, roll out the pastry to roughly 3mm thick and place it over the chicken. Make sure to make a small hole in the top of the pastry, and then cook for a further 20 minutes until the pastry is brown.

ALL THE YUMMY PIE


**(to test this, poke the chicken breast with a knife and then press down on it with the flat side of the knife. There should be no pink colouration in the juice that comes out. Alternatively chop the breast in half and check it’s not pink – you’re going to cut it all up anyway).

Tune of the day: Don't Give Up (On Love)- Blinkie - It's cold, it's wet, it's miserable, so listen to the electronic charms of Blinkie, and reach for a saucepan rather than those Dominoes 2-for-1 offers.


Tip of the day: there are so many really good videos on YouTube showing you how to make many amazing, healthy recipes. I personally love Jamie Oliver’s Food Tube - he invites lots of other chefs as guests to his channel and has so much variation. Also Donal Skehan.    

Wednesday 13 January 2016

New Year, New Us!

***DRUM ROLL PLEASE***

We are back ladies and gents, and it has been far, FAR too long and for this we greatly apologise.

But guess what? It's a brand new year, and with that comes a brand new us, and a brand new blog post - better late than never right?

This year, I am all about the veg - so much so that 90% of my fridge content right now is filled with the green stuff. We've both stopped rowing and with that comes a slightly different diet plan: carbs aren't as needed as we're not exercising quite as much and so vegetables have become my new BFF. This is not to say I have stopped eating carbs -especially on hangover days- as they are still a staple part of your diet to keep you going throughout the day.

My top tip is to have a carb laden breakfast to start the day and to give you an energy boost that will last til lunch.

To start off our grand return, today's blog is going to be about the, not-so-grand, coleslaw. I referenced it as an accompaniment in our sausage roll recipe, but it can be so much more than just a side salad.

I'm going to tell you the recipe at its most basic and then explain how it can make the transition from barbecue side dish to hearty lunch salad. With this, you can make a large amount of the base and then change small portions of it as and when needed.

Edgy zoom


Ingredients (makes 4 to 5 portions)

1/2 white cabbage
3-4 carrots (depending on the size)
1 and a 1/2 tbsp mayonnaise
1 and a 1/2 tbsp plain yoghurt


Recipe


  • Grate cabbage and carrots and put in a large bowl. The best basis for carrot amount is to match it to the cabbage. Alternative: if you're not a huge fan of cabbage, try Chinese lettuce! It doesn't need to be grated, just slice it thinly horizontally and make the coleslaw chunky!
  • Stir in mayonnaise and yoghurt, add more or less depending on how moist (lol) you want your salad
  • Add seasonings, all about that black pepper.
  • Et voila - you have, in its most basic form, coleslaw

If it doesn't look like this you've messed up 


Variations

So some slightly different options for you lovely people...

Raisins - some people hate them, some people think they're a strange item to put in coleslaw - it's all up to personal preference. Something my Mum taught me in order to juice up the raisins before adding them, is to cover them with apple juice and put on the hob in a saucepan until the juice starts to bubble. At which point, drain most of the juice and add the plumped up raisins to the bowl. This adds a lovely fruity zest to your salad.

Red onion - some people prefer a more American style 'slaw, and this is created through the addition of some onion. My favourite way to do this is to finely chop up 1/2 a red onion -it can be quite pungent- and bung in with the rest of the ingredients. This combo is generally best for BBQ style situations as the onion goes dreamily with burgers and sausages.

Apple and dried apricots - don't hate me, this is a thing I swear. This goes best with the Chinese lettuce coleslaw and is a great accompaniment to any Asian themed foods, but don't let that stop you branching out! This is really yummy and again originates from my Mum's kitchen - I know dried apricots can be quite a pricey salad ingredient, but I hope if you seen them on offer you seize the chance to try this out. I would advice a handful of apricots chopped in half and 1-1 and a half apples cut into segments for a chunky mouthful!

Feta and walnut - last and by no means least is this little nugget of wisdom I want to share. I discovered this late at night when I needed to make a packed lunch for a day on campus the next day and only had some previously prepared coleslaw in the fridge. To bulk it up and make it more substantial, I chopped up some feta and bunged in some walnuts. About a third of a block of feta is enough and chuck in a handful or two of walnuts for extra crunch and protein. Again, I know walnuts are expensive, but they are well worth buying in bulk as an extra bit of long lasting energy to add to any salad. I bought a large bag from Booker but in you aren't able to buy from a wholesale supermarket, most health food shops will let you order a large amount in one go for a discounted amount.


We're back and better than ever


Complimentary tune: Let's Dance - David Bowie, in memory of the late and great David Bowie, let's dance away those winter blues and into the new year.

Tip of the day: Head to Morrisons to stock up on cheap fruit and veg, and look at ways to get them -and all your shopping- to stay fresh for longer with tips like these.

---C

Tuesday 21 October 2014

Butternut Squash Part 1: Squash and Chickpea Stew

Now that it's well and truly autumn, and we're all settled back into the swing of university life, I thought it was high time I tackled that ultimate seasonal vegetable - the butternut squash. I've always shied away from cooking with these at uni, mostly because they're so damn big, but also because I've never really known how to.

This recipe uses half a squash, hence it's part 1. Cover the other half in clingfilm, chuck it in the fridge and hang on in there, I'll post another recipe for it soon! Chickpeas and lentils provide the protein here. Chickpeas are so cheap - a 400g tin costs as little as 55p so it's so worth using them. I improvised a bit here, but the recipe is based on Hugh Fearnley-Whittingstall's North african squash and chickpea stew from his Veg Everyday book. In terms of spices, the ones I used are ones I had in the cupboard anyway and use for other recipes. It may be worth investing in some because they go a long way, and are great for adding flavour and warmth.

Ingredients:

  • 1 tbsp olive oil
  • 1 onion (red or white)
  • 1 garlic clove (if you like using garlic in everyday cooking - entirely optional)
  • 2 stalks of celery
  • Generous helping of ground black pepper
  • Approx. 1/2 tsp ground turmeric
  • Approx. 1/2 tsp fennel seeds
  • 60g lentils, red or puy - as long as the cooking time on the packet states 15-20 mins.
  • 1 x 400g tin of chickpeas - drained and rinsed.
  • 1 tin of chopped tomatoes
  • Couple of leaves of basil
  • Squeeze of tomato ketchup (I swear I put this in everything)
  • Handful of fresh parsley leaves (see - we told you those plants would come in handy)
  • Half a butternut squash, or about 300-600g... depending on the size of the squash.
  • 800g of veg stock - I used 2 stock cubes for this.
  • 1 carrot


Recipe - serves 4 (ish):
  • Turn your hob onto a medium-high heat, and sauté the onions until just starting to go golden. 
  • Turn down the heat slightly and add the celery, garlic (if you're using it), turmeric, fennel seeds and pepper and continue to sauté for a couple of minutes.
  • Add the lentils, chickpeas, chopped tomatoes, one squeeze of ketchup, basil leaves, and parsley and allow to simmer for about 15 minutes.

  • Now to attack the butternut squash, and for this you need a big knife. Use a peeler if you can to get the skin off half of it (half being from top to bottom). I ended up using a knife to chop the skin off as close as I could - always using the knife away from me. There's definite injuring-yourself-potential here. Cut it in half using the big knife, and top and tail it. Scoop out the seeds, and cut it into fairly large chunks. This is all a workout in itself!
Carnage
  • Once the 15 minutes simmering is up, add the squash, stock and carrot, cover with a lid and leave to simmer gently for about 30 minutes. 
Hubble bubble (ignore where it slopped over the side)
  • A little while into this, check the seasoning and make sure you're happy with the flavours. 
  • Serve it up straight away, and enjoy!! I'm going to freeze some portions of it so that I can get on and use the other half of the squash before it goes off. 
The yummy finished product. YUM. Perfect for the chillier weather!
Tip of the day: I used to eat so much chocolate and biscuits when I was working at my desk. Sugar is moreish, but doesn't help you concentrate or give you much in the way of nutrition. I still eat them for a treat (every day), but to fill me up and as a less moreish but still yummy snack I eat almonds. They pack a punch with protein too - what's not to like? 

Complimentary tune: Ben Howard - I Forget Where We Were - his new album though...

---K

Saturday 20 September 2014

Lentil and Carrot Stew

Here in Exeter, freshers' week is coming to an end and it's definitely been better the second time around. So, for any freshers reading this who have had a disappointing one - don't judge what's to come by it!

This recipe is delicious and full of good stuff to make you feel better about yourself after a week of heavy drinking (it's definitely been one of them). Lentils are packed full of protein and the sweet potato gives you healthy carbs. This is definitely one where it's worth peeling and cutting everything before you begin to avoid burning things. About half an hour preparation time is needed in total.

Ingredients: This serves 4-5 people or one for several days. Keep it in the big saucepan with a lid on it in the fridge (allowing it to completely cool first) and heat up portions in the microwave until piping hot. 

  • 200g or 7oz of puy or green lentils. Check on the packet that they're ones you cook for 15-20 minutes as they can vary.
  • 1 stock cube - vegetable or chicken.
  • 100g or 4 oz (ish) of mushrooms finely chopped.
  • 1-2 carrot(s) peeled and grated.
  • 1 can of chopped tomatoes (make sure it's just plain tomatoes in tomato juice, without added salt etc.)
  • 1 onion, chopped.
  • 1 pepper, chopped.
  • Half to 1(depending on how big) sweet potato, peeled and cut into fairly small chunks.
Recipe:
  • Place the lentils in a large pan (this is where the casserole dish comes in handy - see our Kitting out your Kitchen blog post for an example) and cover with cold water. Crumble in the stock cube and set over a medium-high heat to simmer. When it's boiling, set your timer to 20 minutes.
Crumble crumble

  • Once you've done that, fry the onion, pepper and sweet potato in a dash of olive oil over a medium-high heat until the onion is soft.
  • If at any point the lentils look like they're boiling dry, add some water from the kettle, but not too soon before adding the tomatoes because otherwise it'll be too wet.
  • Add the mushrooms and fry until they're soft. 
Frying 
  • Stir this mixture into the lentils and simmer for about 5 minutes before adding the chopped tomatoes and grated carrot.
  • Now you season, season, season. Add a pinch of salt, a twist of pepper and a shake of dried herbs. If you've got any fresh herbs - chuck them in too. Taste it and adjust until it's just right. If you've got any tomato ketchup, a squeeze of that doesn't go amiss either.
  • Cover, and cook for the remaining time on the timer. The lentils are done when they're tender but not mushy.
Done! 

I normally serve this with some boiled fresh veg such as celery, courgette and peas (chuck them in slightly salted boiling water for 8-10 minutes and the peas for 5 minutes) and some brown rice for extra carbs if I'm hungry/need it. It may not look so appetising after the first day as the lentils are brown by nature, but if you heat it up it's still perfectly good and tasty.

Complimentary Tune: Boom Clap - Charlie XCX

Tip of the day: Get a lamp/fairy lights for your room - believe me it can turn a horribly lit uni room into a warm and cosy-feeling space so easily. It makes all the difference in the world!

Friday 12 September 2014

Nacho Naughtiness!

I’m putting this out there; I know this isn't healthy. But there are days (like today) when all you need is a solid load of fat and calories.

At our student pub there is a fantastically greasy version of this which leaves you feeling a lot queasier than when you started (especially on a hangover).

This (slightly) healthier, homemade option hits the spot perfectly and is easier and quicker to make than having to walk all the way to get to campus.

All you need is a large baking tray and your average oven so there can be no excuses of not having the right equipment.

We made our own guacamole as we had some very ripe avocados to get rid of, but you are equally welcome to be lazy and buy a store bought version. My housemate Naomi was in charge of the actual making of it today and, as hers was just as good as mine (if not better), I’ve included both of our recipes for it.


Ingredients
1-2 large packs of tortilla chips (depending on if/how many your sharing with)
1 pot sour cream or dip
1 pot salsa
A handful of jalapeno peppers (optional)
1 large block of cheddar

For Naomi’s guacamole:
2 avocados
(The juice of) 1 lime
Handful of cherry tomatoes
Decent seasoning of salt and pepper

For Claire’s guacamole
2 avocados
2-3 tbsp of sweet chilli sauce (add acc. to how spicy you want it)
2 large tomatoes
Decent seasoning of salt and pepper

Such colour #spottheshoe


Recipe
  •  Line your baking tray with foil and scatter your tortilla chips so there is an even covering over it.
  • Dollop on your salsa generously over the chips, remember even distribution is key for optimum results.
  •  Grate as much cheese as you feel suits your current state of hangover (we used a good 300g)
  • Bung that all in the oven (it should only take 5 mins) and get on making your chosen guacamole.
  •  For both recipes: first, halve the avocados, remove their stones and get a largish spoon to relieve the fruit of its skin. You may have to peel off the skin yourself if it is too unripe to be removed with a spoon.
  •  The key is to use the ripest avos you can find for easier mashing. Naomi recommends whisking it but if the avo is too hard for this use a fork to mash it all up.
  • For Naomi’s recipe immediately add the lime juice to stop the guacamole from browning too much (I leave the stones in the mixture when not mixing as this has the same effect).
  • Then chop up your tomatoes as small as possible (no-one likes a chunky guacamole) and wack them in with the avos
  •  For both recipes season well with salt and pepper and stir all the ingredients together.
  • You should be checking your nachos in the oven frequently whilst this is happening; they will be done once all the cheese is well melted.
  • Again, dollop on your guacamole and sour cream all over the nachos. Feel free to add more cheese if the current levels of fat and carbs are not to your liking.
  • Et voila! Perfect hangover cure! You can thank me afterwards.


So proud of our creation

Tip of the day: Our new fave snack is a frozen banana. Peel, chop up, and wack it in a bowl in the freezer. It should be done in a couple of hours and tastes like a mini sorbet. Delicious and nutritious!

Complimentary tune: All About That Bass - Meghan Trainor I know it's American. I know its annoying, but it's so damn catchy and the only thing that's playing in our house at the moment.


---C

Monday 8 September 2014

Veggie Frittata

It's been a while! The end of summer always gets a bit hectic - making sure you see all the friends and family you can before you go to uni. Anyway, here's a recipe that will you set you up nicely for a day of fresher's. Frittatas are similar to omelettes, but this one is made in the oven as it uses roasted vegetables - I've taken inspiration from Hugh Fearnley-Whittingstall's Veg Everyday book here.

Eggs are cheap and valuable sources of protein. Try and buy free-range if you can, think of the poor chicken!

We're now moving on to autumn and winter vegetables - sticking with the old seasonal veg, so basically use whatever you have in your fridge at the time. Sticking with the general rule of the harder the raw veg, the longer it will need to roast. In this case, cut the harder ones up smaller so they roast more quickly.

Ingredients: This will serve two or three people, or one then cold for lunch another day!

  • 300g (roughly) of vegetables - root veg are probably better in this case, so sweet potato, butternut squash, carrots, parsnips, potatoes,. Courgettes and peppers will also work as will celery, but don't cut them up so small. The others should be cut into roughly 2-3cm cubes as an idea.
  • 1/2 an onion - red is probably nicer here, also cut into slices/cubes.
  • 3 dessert spoons of olive oil
  • A handful of herbs if you have them - fresh parsley, thyme, chives etc.
  • 3-4 eggs more if you end up having more vegetables.
  • About 10-15g of hard cheese (parmesan, cheddar etc), grated.
All that colourful veg

Recipe:
  • Preheat the oven to 190 degrees (Gas 5).
  • Prepare your veg - peel the carrots, parsnip etc. cut the skin off the butternut squash, chop and chunk it all!
  • Place them in a roasting dish - baking tray, glass or ceramic dish - whatever you have that fits all the veg so they're in roughly one layer.
Couldn't rotate it - but you get the even-layered veg idea...
  • Toss them in olive oil and season well with salt and pepper then roast in the oven for 40 minutes, giving them a stir halfway through and adding mushrooms if you fancy.
  • 30 minutes in, if you want to serve your frittata with roasted tomatoes (a good combination I promise), place two in a small dish and drizzle a little oil over them. Cut a slit in the top of each and place some fresh basil on top. Bung them in the oven and they'll be done at the same time as everything else. 
  • When the veg is nearly done, beat the eggs, chopped herbs and more salt and pepper in a bowl and when the 40 minutes is up (or the veg is soft and looks done), pour the mixture into the roasting dish and wiggle until it's all evenly distributed. 
Whisky whisky (check out that colour coordination)
  • Scatter the grated cheese on top, and put it back in the oven for 10-15 minutes, until the egg is set and it's looking golden brown round the edges. With 5 minutes to go, put some peas on to boil if you fancy - add some green to the plate!
Scattering cheese after pouring in egg
You could eat this with a chunk of wholemeal bread, or put potatoes in it for carbs. You could also have it with jacket potato. The beauty of a frittata, is that you can eat it cold the next day for lunch - just put it in the fridge wrapped in clingfilm when it's completely cool.


The finished thing in all its puffy golden glory - yum yum.

Complimentary Tune: Fleet Foxes - Mykonos (I know it's old but I love it)

Tip of the day: Fresher's week is coming up for a lot of people, and if you're moving in to new accommodation and meeting new flatmates - one of the most important tips I can give you is prop your door open and get to know your flatmates and talk to them. They might end up being your best friends or they might not, but either way you'll appreciate having people to go out with and do stuff during the day in freshers week before you meet other people in your clubs or course.

---K

Sunday 17 August 2014

Kitting out your Kitchen

So it’s nearly time to pack up the entirety of your room and fish out those rogue cooking utensils from the back of the attic, and we at Gourmet Student Grub are pretty damn excited!

Today's blog post is something a little bit different. We thought it might be useful for anyone going to uni for the first time to have a list of things we took for cooking and eating that we found useful/needed. It's always helpful to hear it from people who have actually been. 


Whether it’s your first time to enter the world of endless free time and alcohol or you’re now an old hat, we have decided to bestow our endless wisdom by giving our top tips for what to take to uni. In our first years, Kitty was self-catered and Claire was catered for so we hope to offer advice to those of you heading for both types of accommodation.

This is you; metaphorically dipping your toe into the scary waters of uni.

Obviously it varies from uni to uni (#Exeteristhebest), but this is a guideline from those of us who have first-hand experience and can be arsed enough to write it all down for you lovely people (feel free to send us chocolates as thanks).


Self-catered

Crockery: 
  • 2 x dinner plates
  • 2 x side plates (useful for sandwiches and cake..)
  • 2 x cereal bowls
  • 3 (or more) x mugs (for if you have people round and for when you have mugs of tea faster than you wash up.. always)
  • 3 x water glasses (same reasons)
  • 2 each of knives, forks, spoons, teaspoons and tablespoons. I also had 2 smaller knives.
The average uni kitchen


I dug all of these out of old stuff of my parents' except for the mugs which someone gave me, and the water glasses which were £1 each from a supermarket. One of my flatmates knew that she wasn't very good at washing up, so only took one of all her crockery so she had to do it - now there's an idea.

Equipment: (Things in italics are not really necessary - but made my life easier. It all depends on your budget and style of cooking)
  • Large lidded casserole-style dish. Useful for those one-pot wonders, and also just for cooking vegetables and stuff. I had to spend a bit more money on this one unfortunately, but it's worth it for one that will last a long time! Mine was from Lakeland.
  • Medium saucepan - preferably non-stick. Good for risottos and just frying onions and things. I got mine from Tesco.
  • A small saucepan (10 - 15 cm) for cooking a little bit of pasta, boiling an egg (if that's your kinda thing), or some vegetables, also from Tesco I think.
  • A baking/roasting tray with sides, as in - not just completely flat, but so that you can roast vegetables in it or make a traybake. This is an example.
  • I also had a flat one for pizzas and stuff.
  • Two chopping boards - one wooden and one plastic.
  • Measuring jug - half a litre.
  • Grater
  • Lemon juicer. This isn't a necessity but I had one anyway because I like using fresh lemons in my cooking.
  • Small glass bowl - these have many uses! Pyrex is a good brand that's not too expensive.
  • Large glass bowl for mixing in. Not just baking, but also for stuffings, salads etc. Again, Pyrex is a good'un
  • Glass roasting dish like this. It's brilliant, you can bake stuff in it, and keep things in the fridge in it with the lid on or freeze in it. 
  • A sieve - this acts instead of a colander as well, so get a large one. It's all about multi-tasking.
 Utensils
  • A good peeler - I prefer this kind of shape as I find them easier to use. I just picked a random example here.
  • A paring knife - a small one with a flat blade for cutting up vegetables. 
  • You could also get a larger one for cutting up bigger things like sweet potatoes or butternut squashes.
  • A serrated knife for tomatoes and softer vegetables.
  • Bread knife
  • Kitchen scissors
  • A wooden spoon kit (you can get them in packs of three often with a large one, a small one and a flat one)
  • Rolling pin - useful for pizzas and things
  • Plastic bag clips - Klippits this is a Lakeland example but obviously if you can find something cheaper or more convenient - get that.
  • Ladle also not strictly necessary - if you want one, get it!
  • Spatula, if you plan on baking and is just generally useful for scraping out any dish.
  • Masher (although a fork will do in most cases if you don't want to get this)
Other things

  • Foil and clingfilm
  • Freezer/sandwich bags
  • Plastic storage or freezer boxes for portions in the freezer and for taking lunch in.
Things to wait until you arrive to buy - A toaster - we didn't get provided with one, but several people brought one anyway, so see what your flatmates have brought and if they're willing to share. Also, some scales - I borrowed my flatmate's all the time. Cake tins for those all-important birthday cakes. 

A note on knives - It's so so worth getting some good ones. I bought some cheap ones from Tesco before I went, and they were rubbish. My mum got me one good one for Christmas and that ended up being the only one I used! A couple of good ones will last through uni and beyond. 

Some food things to stock up on before you go - pasta, rice, lentils, quinoa, cous cous, tinned tomatoes, salt, pepper, herbs, canned beans, baked beans (for emergencies), cereal/other breakfast food. If you can, make some meals before you go and freeze them so you don't have to worry about it during freshers' week!


Catered

At Exeter, catered means being provided with breakfast and dinner on weekdays and breakfast/brunch and dinner at the weekends. In this way, we were pretty fortunate as many universities completely sack off any form of catering at the weekend leaving ill-equipped students to fend for themselves.


Remember not to confuse your washing machine with the oven


For those unfortunate no-food-weekenders food variation will be difficult, as it is very hard to budget when you’re only really cooking for 2 days a week and many tend to resort to a mixture of pasta or pizza.

Breakfast is easy; cereal keeps for ages and doesn’t need to be stored in the fridge, so make sure you stock up on plenty of your favourite before term begins. Obviously milk is also a key component to this, and only keeps for about a week if refrigerated, so keeping a good supply of this is mandatory. Work out how much milk you tend to use per week early on so you can buy the right sized bottle of milk (the amount of times milk stank out my fridge in the first year does not bear thinking about). Remember, wasted food is wasted money (and therefore wasted shots).

I started out the year eating the bare minimum for lunch and trying to hold in my hunger until supper started at 5.15pm. The other well-used tactic was removing a large amount of bread and sachets of Nutella from breakfast and having that toasted as a meal (delicious but not nutritious). When we started getting harder rowing training schedules, I was forced to start adding higher levels of protein and long-lasting energy to my diet.


Le nutella


With only a microwave at your disposal, there's a tendency to be lazy and buy ready meals from a supermarket. However, upon learning the technique of cooking pasta and quinoa in the microwave I realised the possibilities available to me.

Crockery

This is pretty similar to Kitty's list, and in fact I did take two of everything however 1 set is perfectly adequate for your needs. The key thing is to make sure all crockery is microwave-proof as this will be your main cooking utensil.
  • 1x large plate
  • 1x small plate
  • 1x cereal bowl
  • Couple of mugs (team tea sessions are great bonding so multiple mugs are important)
  • Couple of glasses
  • 1 set of full cutlery (knife, fork, cereal spoon, teaspoon)
  • A teapot (not compulsory unless you are like me and like a proper cuppa)
Equipment

To make pasta in the microwave, put your pasta in a large microwaveable bowl (100g pp) and cover well with just boiled water. Cover the top of the bowl with clingfilm, and put in microwave on full heat for usual cooking time (as specified on packet). Drain in colander and add ingredients.

To make quinoa in the microwave, place quinoa and suggested quantity of boiled water (usually 1 part quinoa to 2 parts water) in the bowl. As with pasta, cover with clingfilm and cook in microwave for required time. This is only cooked once all water has all been absorbed.


Le quinoa


Therefore you will need:
  • 1 large glass (or other microwavable) bowl
  • Clingfilm
  • 1x stirring spoon (spatula style ones are useful for efficient decanting)
  • 1 colander
  • 1x kettle (usually supplied in your kitchen but handy to have one in your room for ease, Tesco does some decent ones for less than £14) 
  • Some plastic containers (I took 3 small ones) to refrigerate excess food for later reheating.
  • A toastie maker (I took extra bread from breakfast and made tuna and sweetcorn toasties for lunch, or just cheese and tomato is I was feeling lazy!)

Complimentary tune: Walking with Elephants - Ten Walls, if a remix of this isn't played in freshers week then I'm an elephant.


Tip of the day: Listen to us, we know what we're talking about. Be over-prepared, your parents can always take stuff back with them, but it's a lot harder for them to send down more crockery or extra utensils.


Yes; a chainsaw is necessary.